前面使用hugo生成了静态网站,public下的一堆文件,需要放到web服务器下
每次新写博客都要同步
github action
可以将本地生成的public目录提交到github仓库
你的服务器拉取github仓库,执行脚本部署
当你提交文件时可以使用 action自动触发脚本运行部署
在服务器运行生成公私密钥
ssh-keygen -t ed25519 -C "your_email@example.com"
github新建一个blog仓库,把私钥存成一个变量,这样github action可以通过ssh在你服务器运行脚本
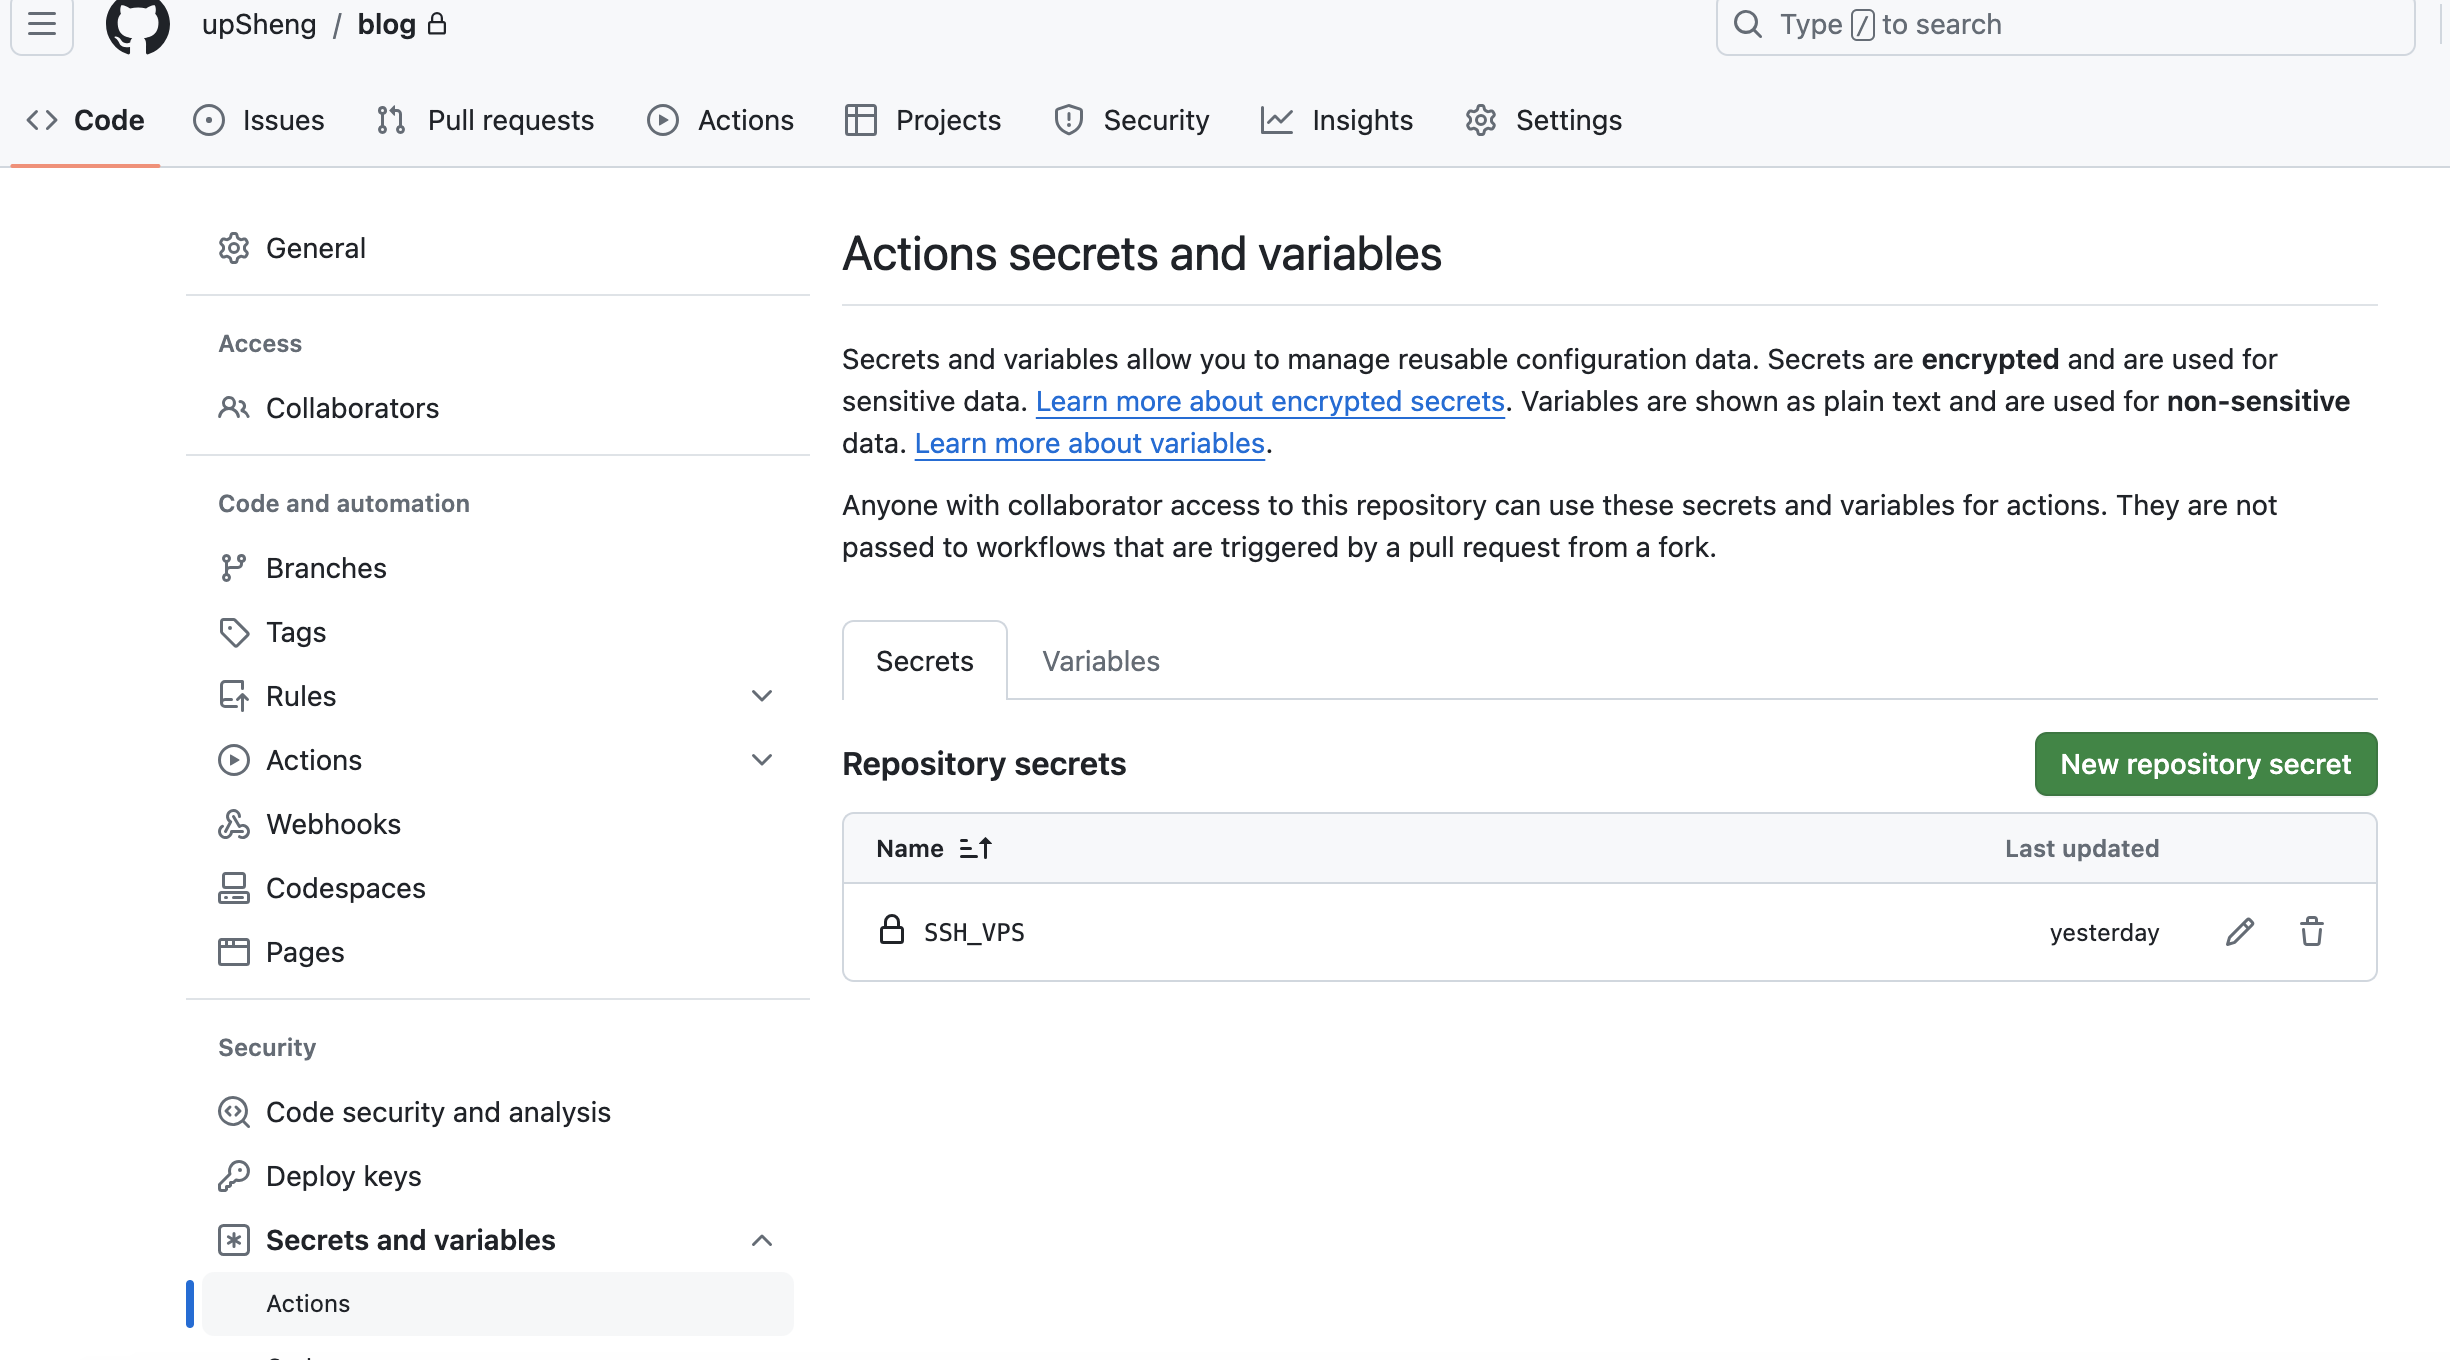
在setting -》secrets and variables -》action 添加ssh 变量,让github action可以通过ssh执行脚本

仓库根目录新建action脚本
.github/workflows/deploy.yml
${{secrets.SSH_VPS}} 需要换成你自己定义的变量名
name: Deploy to server 下面是你想要运行的脚本,可以自定义
name: Deploy

on:
  push:
    branches:
      - main  # 监听主分支的推送事件

jobs:
  deploy:
    runs-on: ubuntu-latest

    steps:
    - name: Checkout code
      uses: actions/checkout@v2

    - name: Setup SSH
      uses: webfactory/ssh-agent@v0.5.3
      with:
        ssh-private-key: ${{ secrets.SSH_VPS }}

    - name: Deploy to server
      run: |
        ssh -o StrictHostKeyChecking=no root@chenhs.xyz '
          cd /data/upsheng/blog && \
          git pull && \
          /data/upsheng/deploy-script.sh'
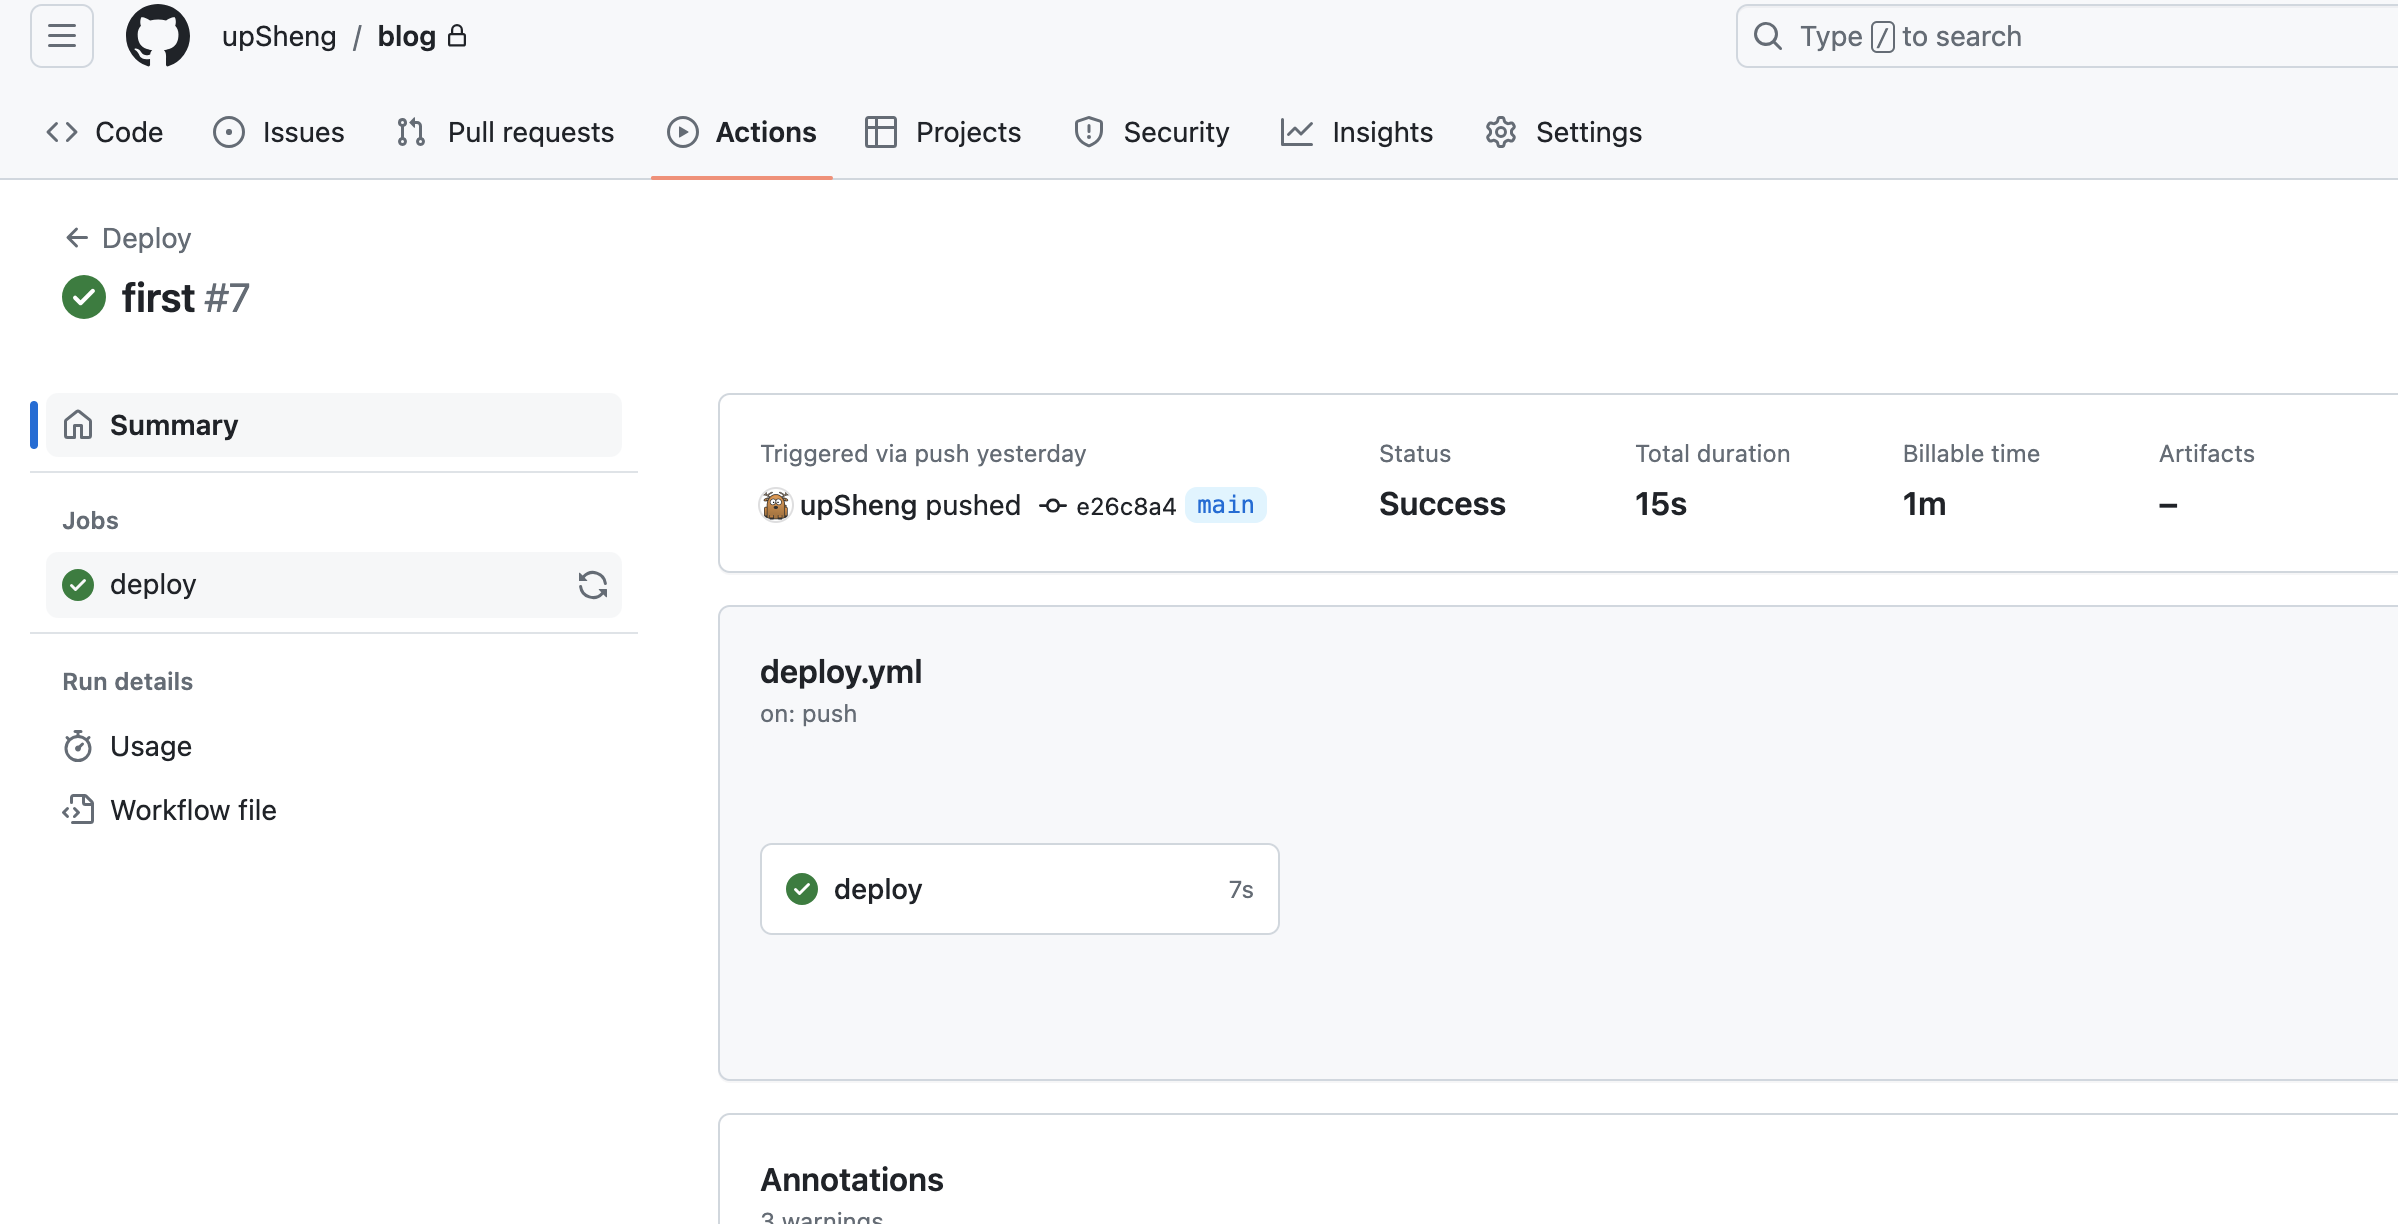
当你提交时 action标签也会有意向构建信息

本地hugo自动提交脚本
#!/bin/bash

echo -e "\033[0;32mDeploying updates to GitHub...\033[0m"

# Build the project.
hugo # if using a theme, replace with `hugo -t <YOURTHEME>`

# Go To Public folder
cd public
# Add changes to git.
git add .

# Commit changes.
msg="rebuilding site `date`"
if [ $# -eq 1 ]
  then msg="$1"
fi
git commit -m "$msg"

# Push source and build repos.
git push -u origin

# Come Back up to the Project Root
cd ..
nginx
web服务器采用nginx
# 安装nginx
yum install nginx

# 查看nginx状态
systemctl status nginx

# 重启
systemctl restart nginx

# 停止
systemctl stop nginx
编辑 nginx.conf 配置
设置root地址为 hugo生成的public目录地址就好了
server {
        listen       80;
        listen       [::]:80;
        server_name  chenhs.xyz www.chenhs.xyz;
        root         /data/upsheng/blog/public;

        # Load configuration files for the default server block.
        include /etc/nginx/default.d/*.conf;

        error_page 404 /404.html;
        location = /404.html {
        }

        error_page 500 502 503 504 /50x.html;
        location = /50x.html {
        }
    }